


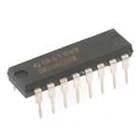
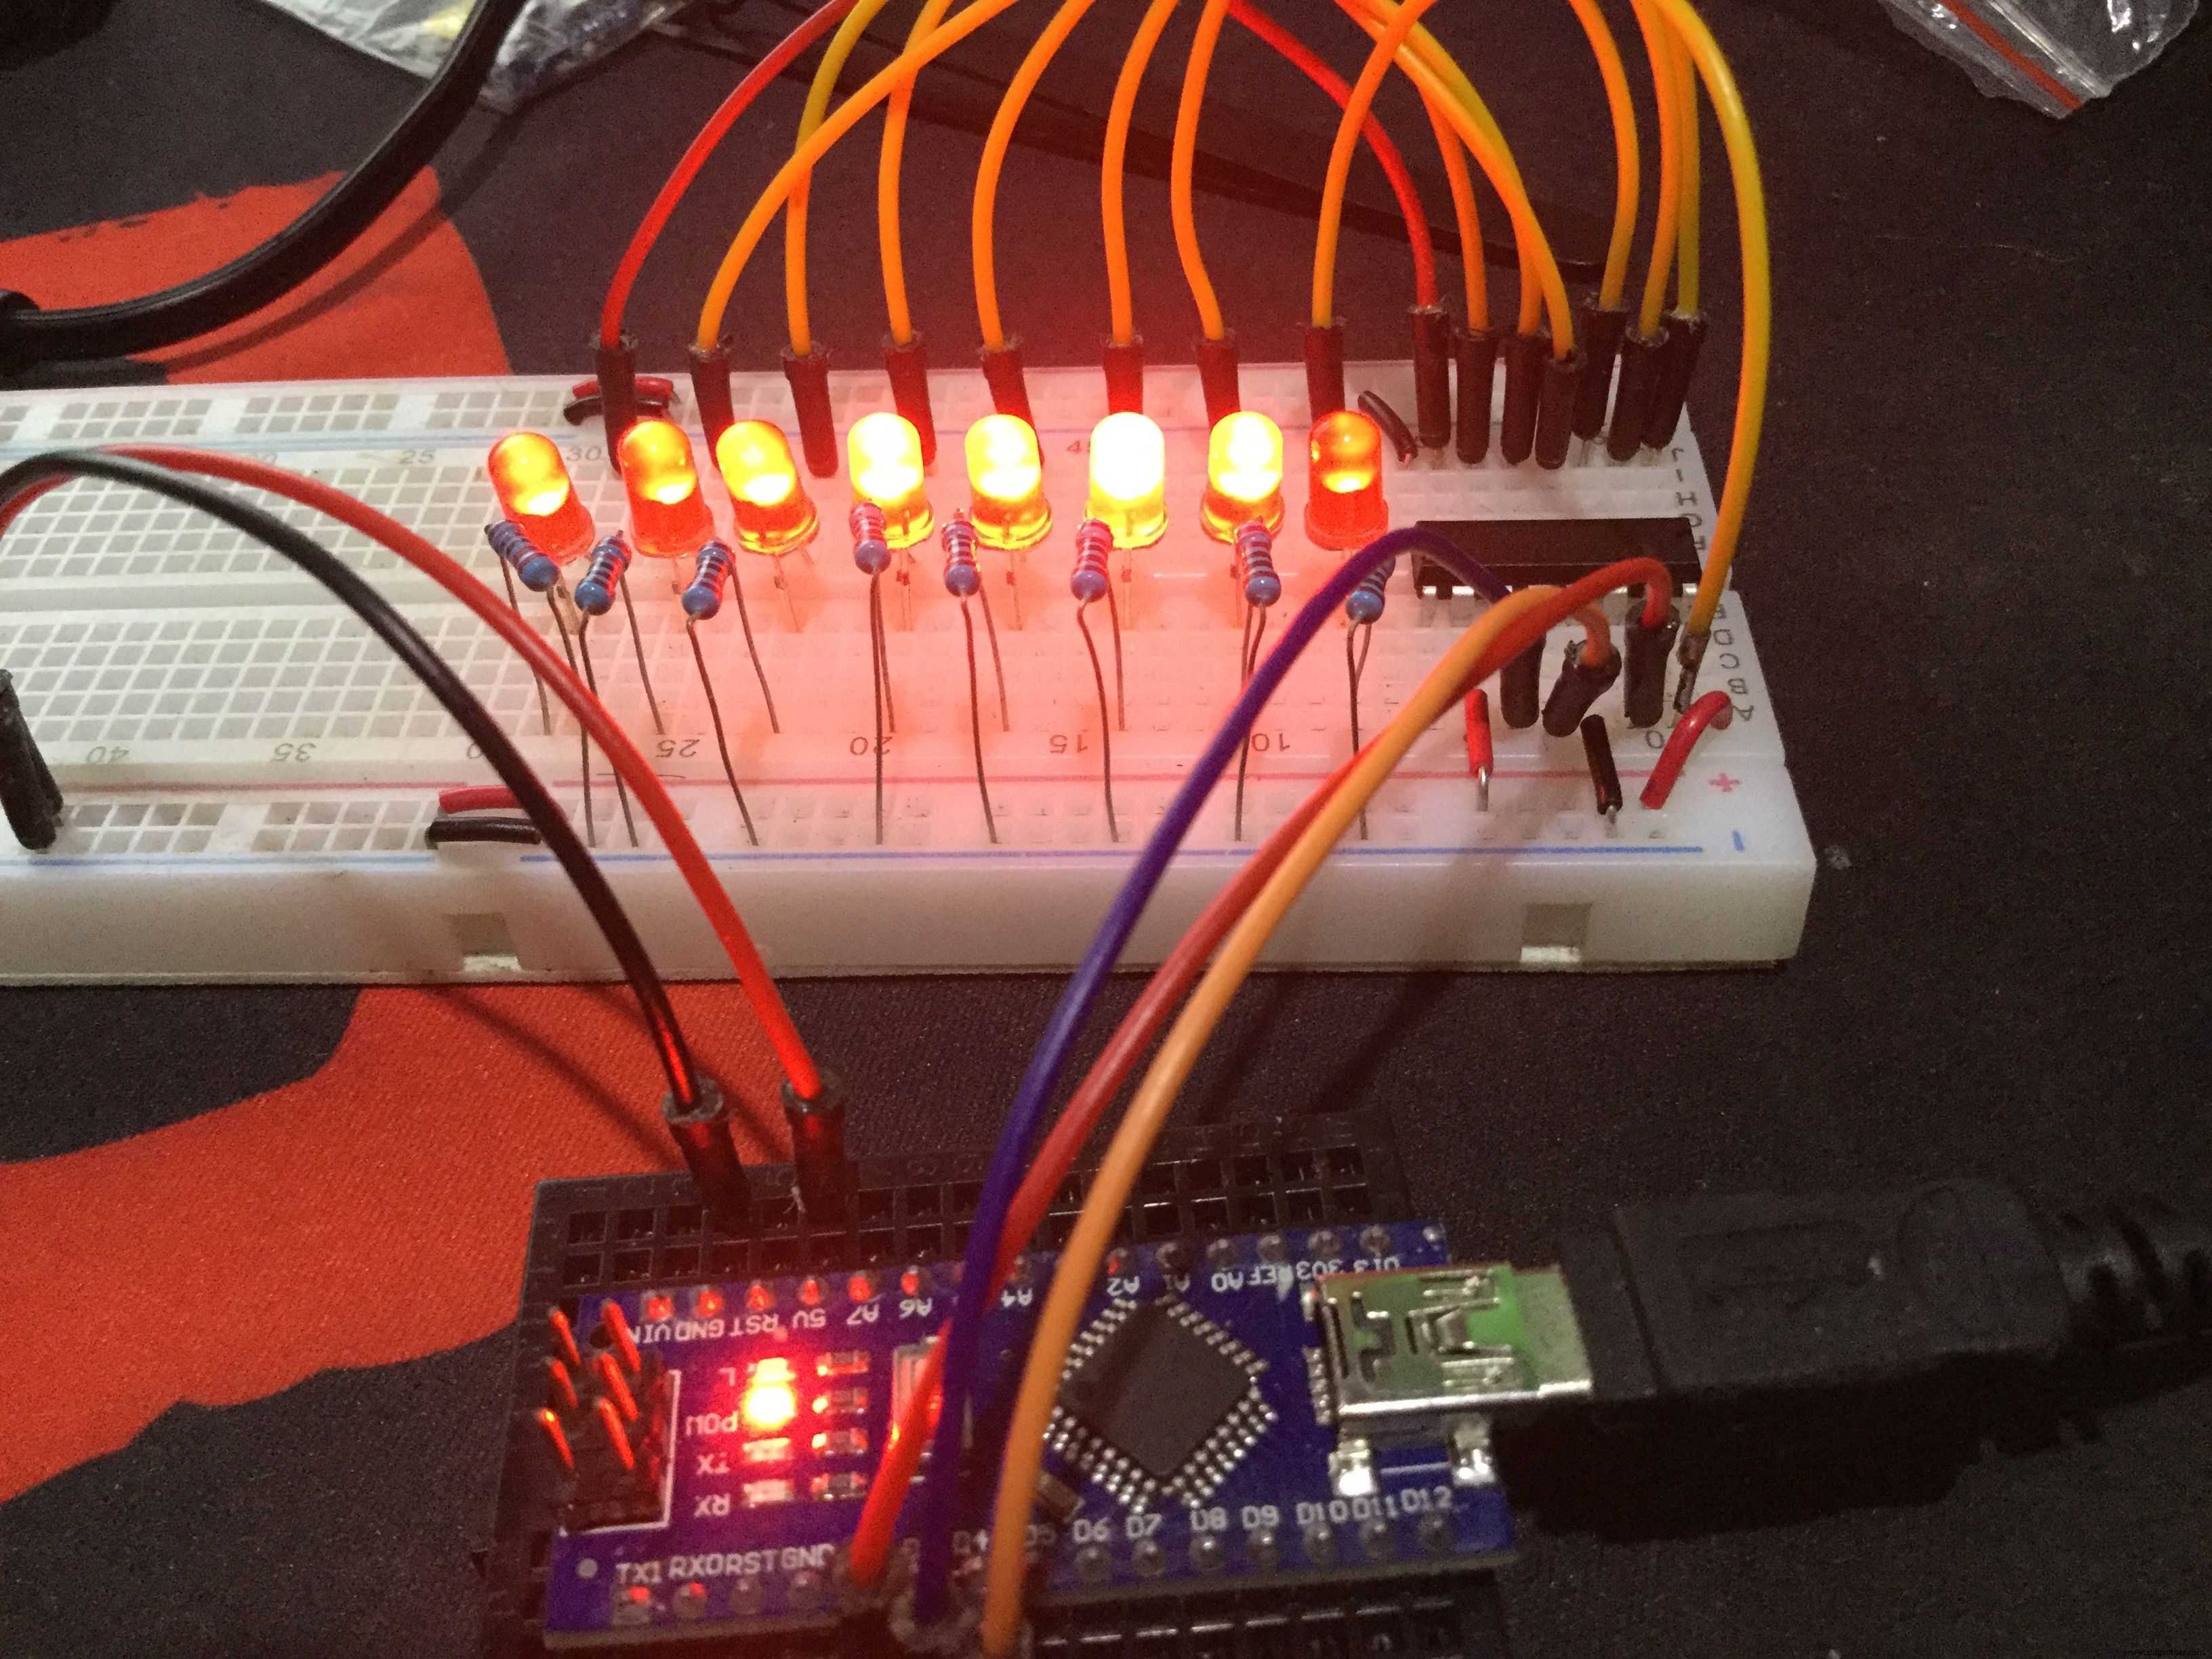
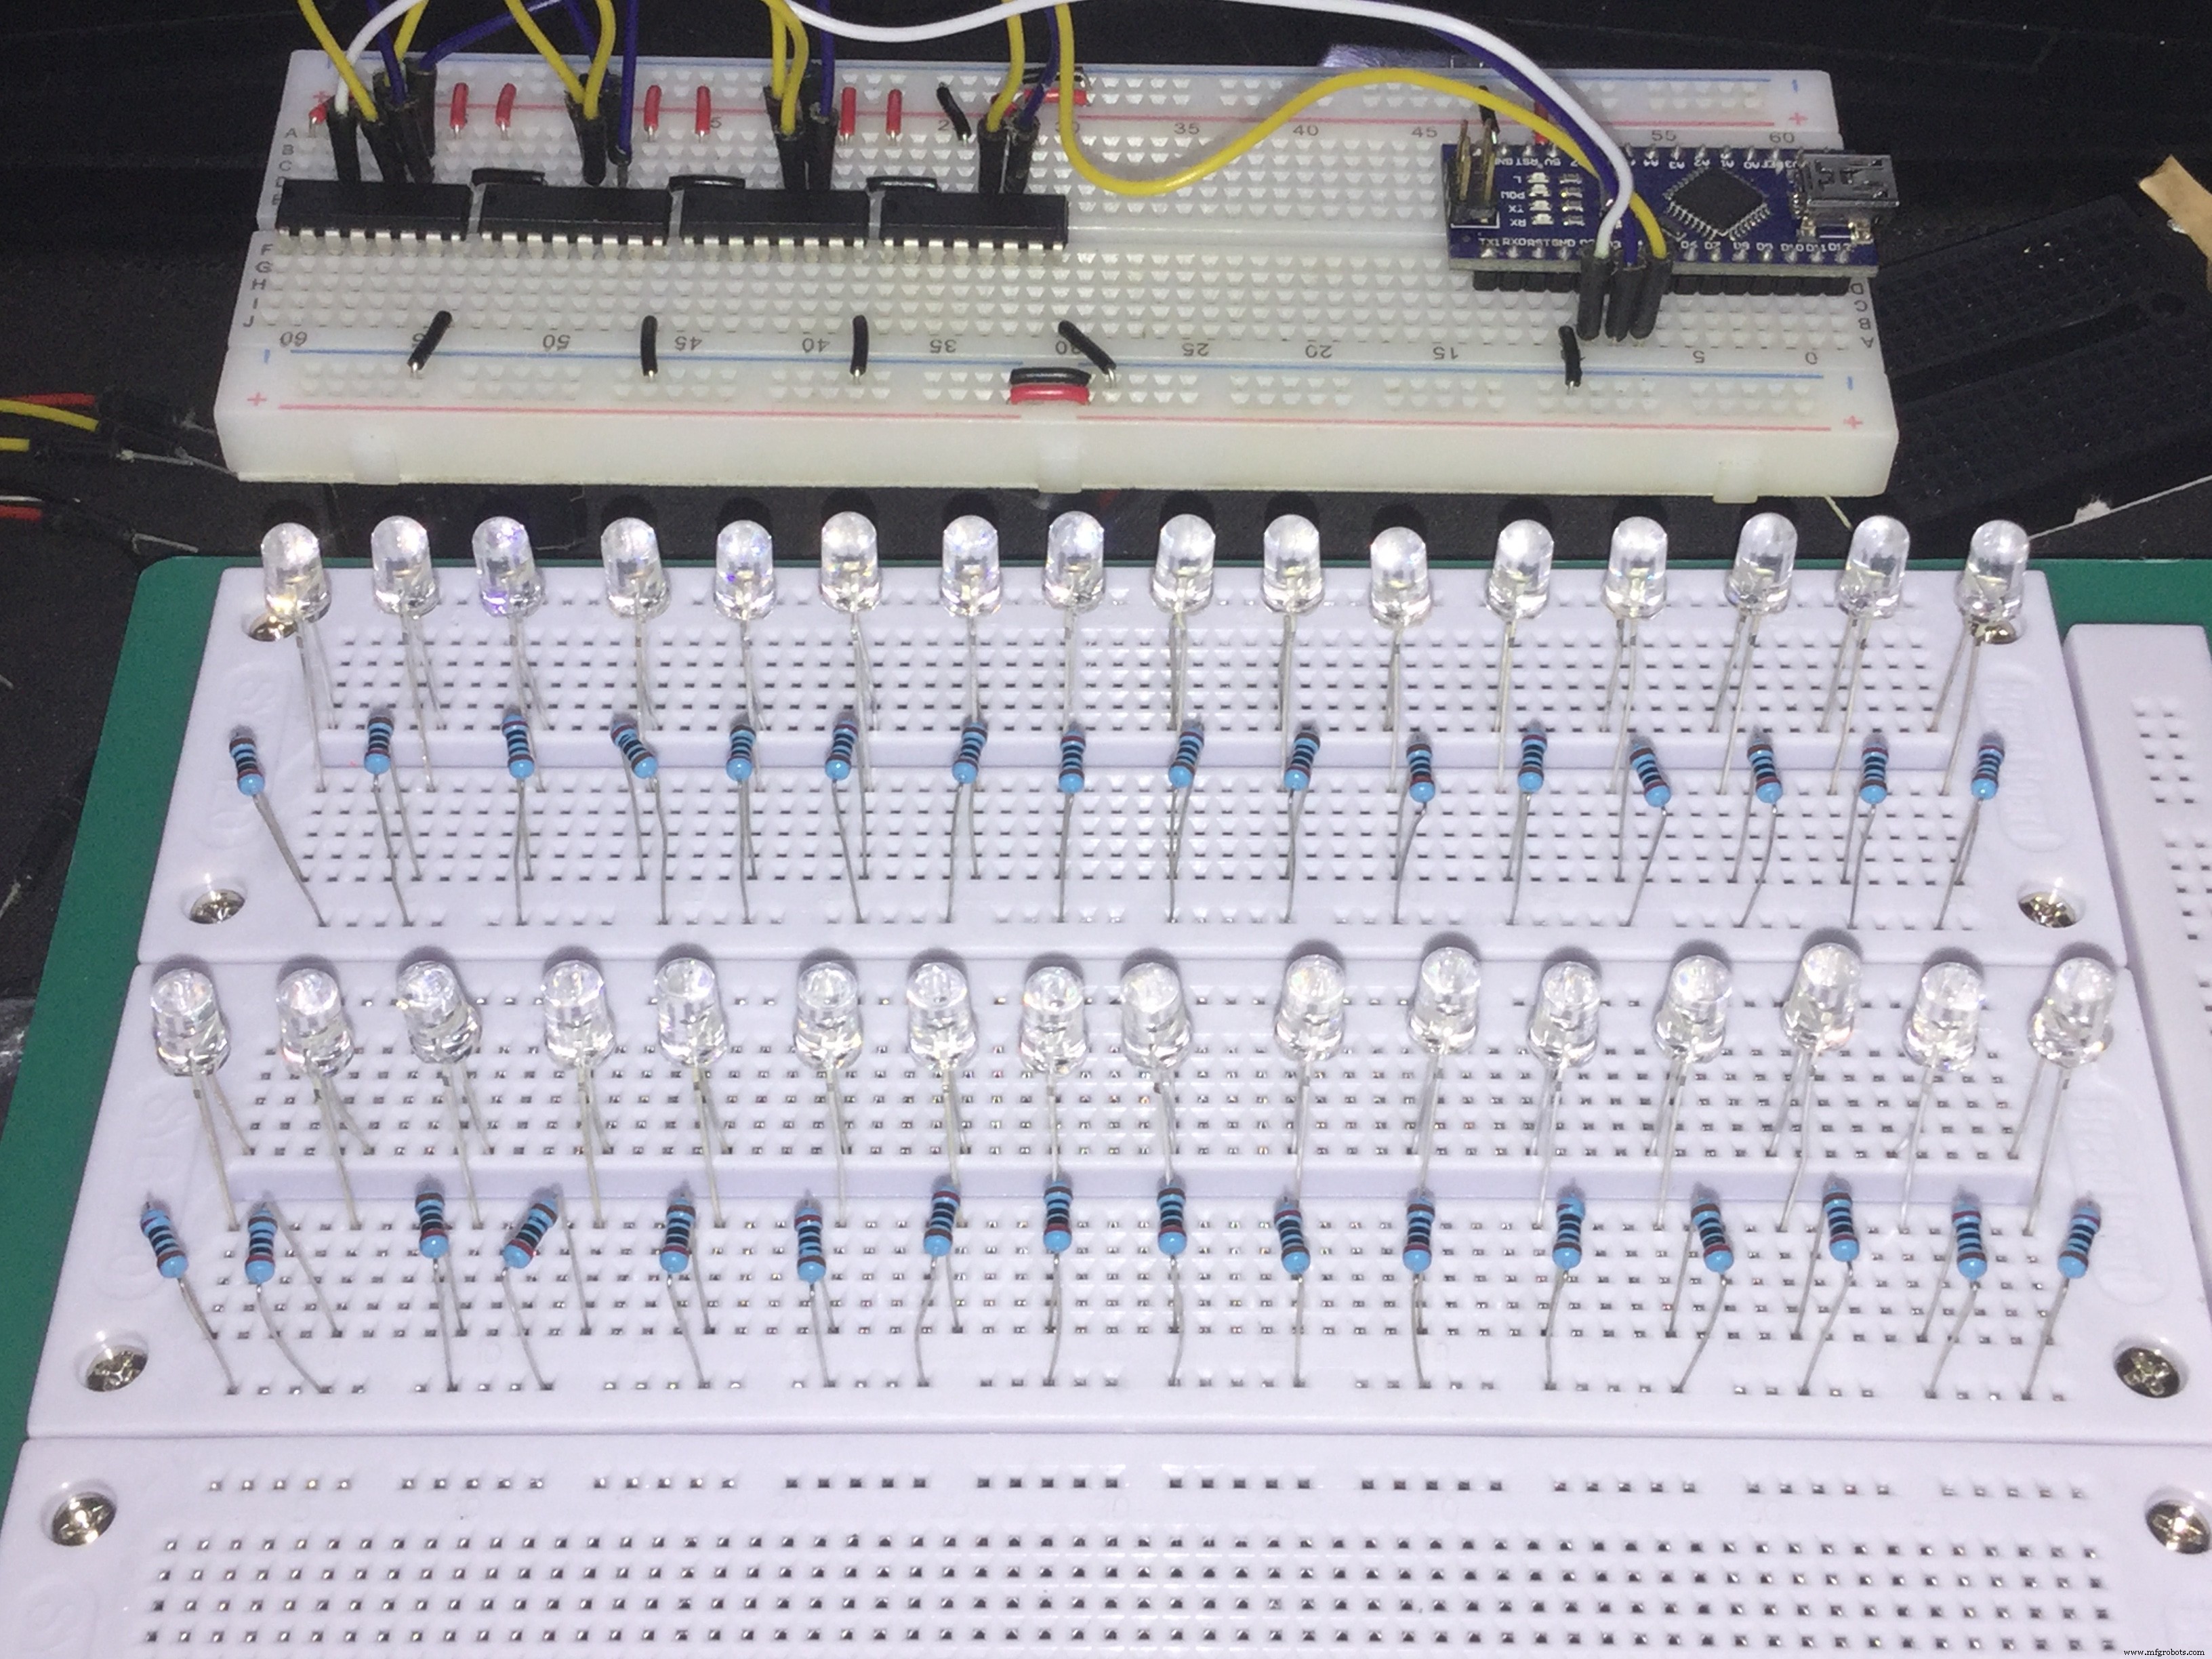
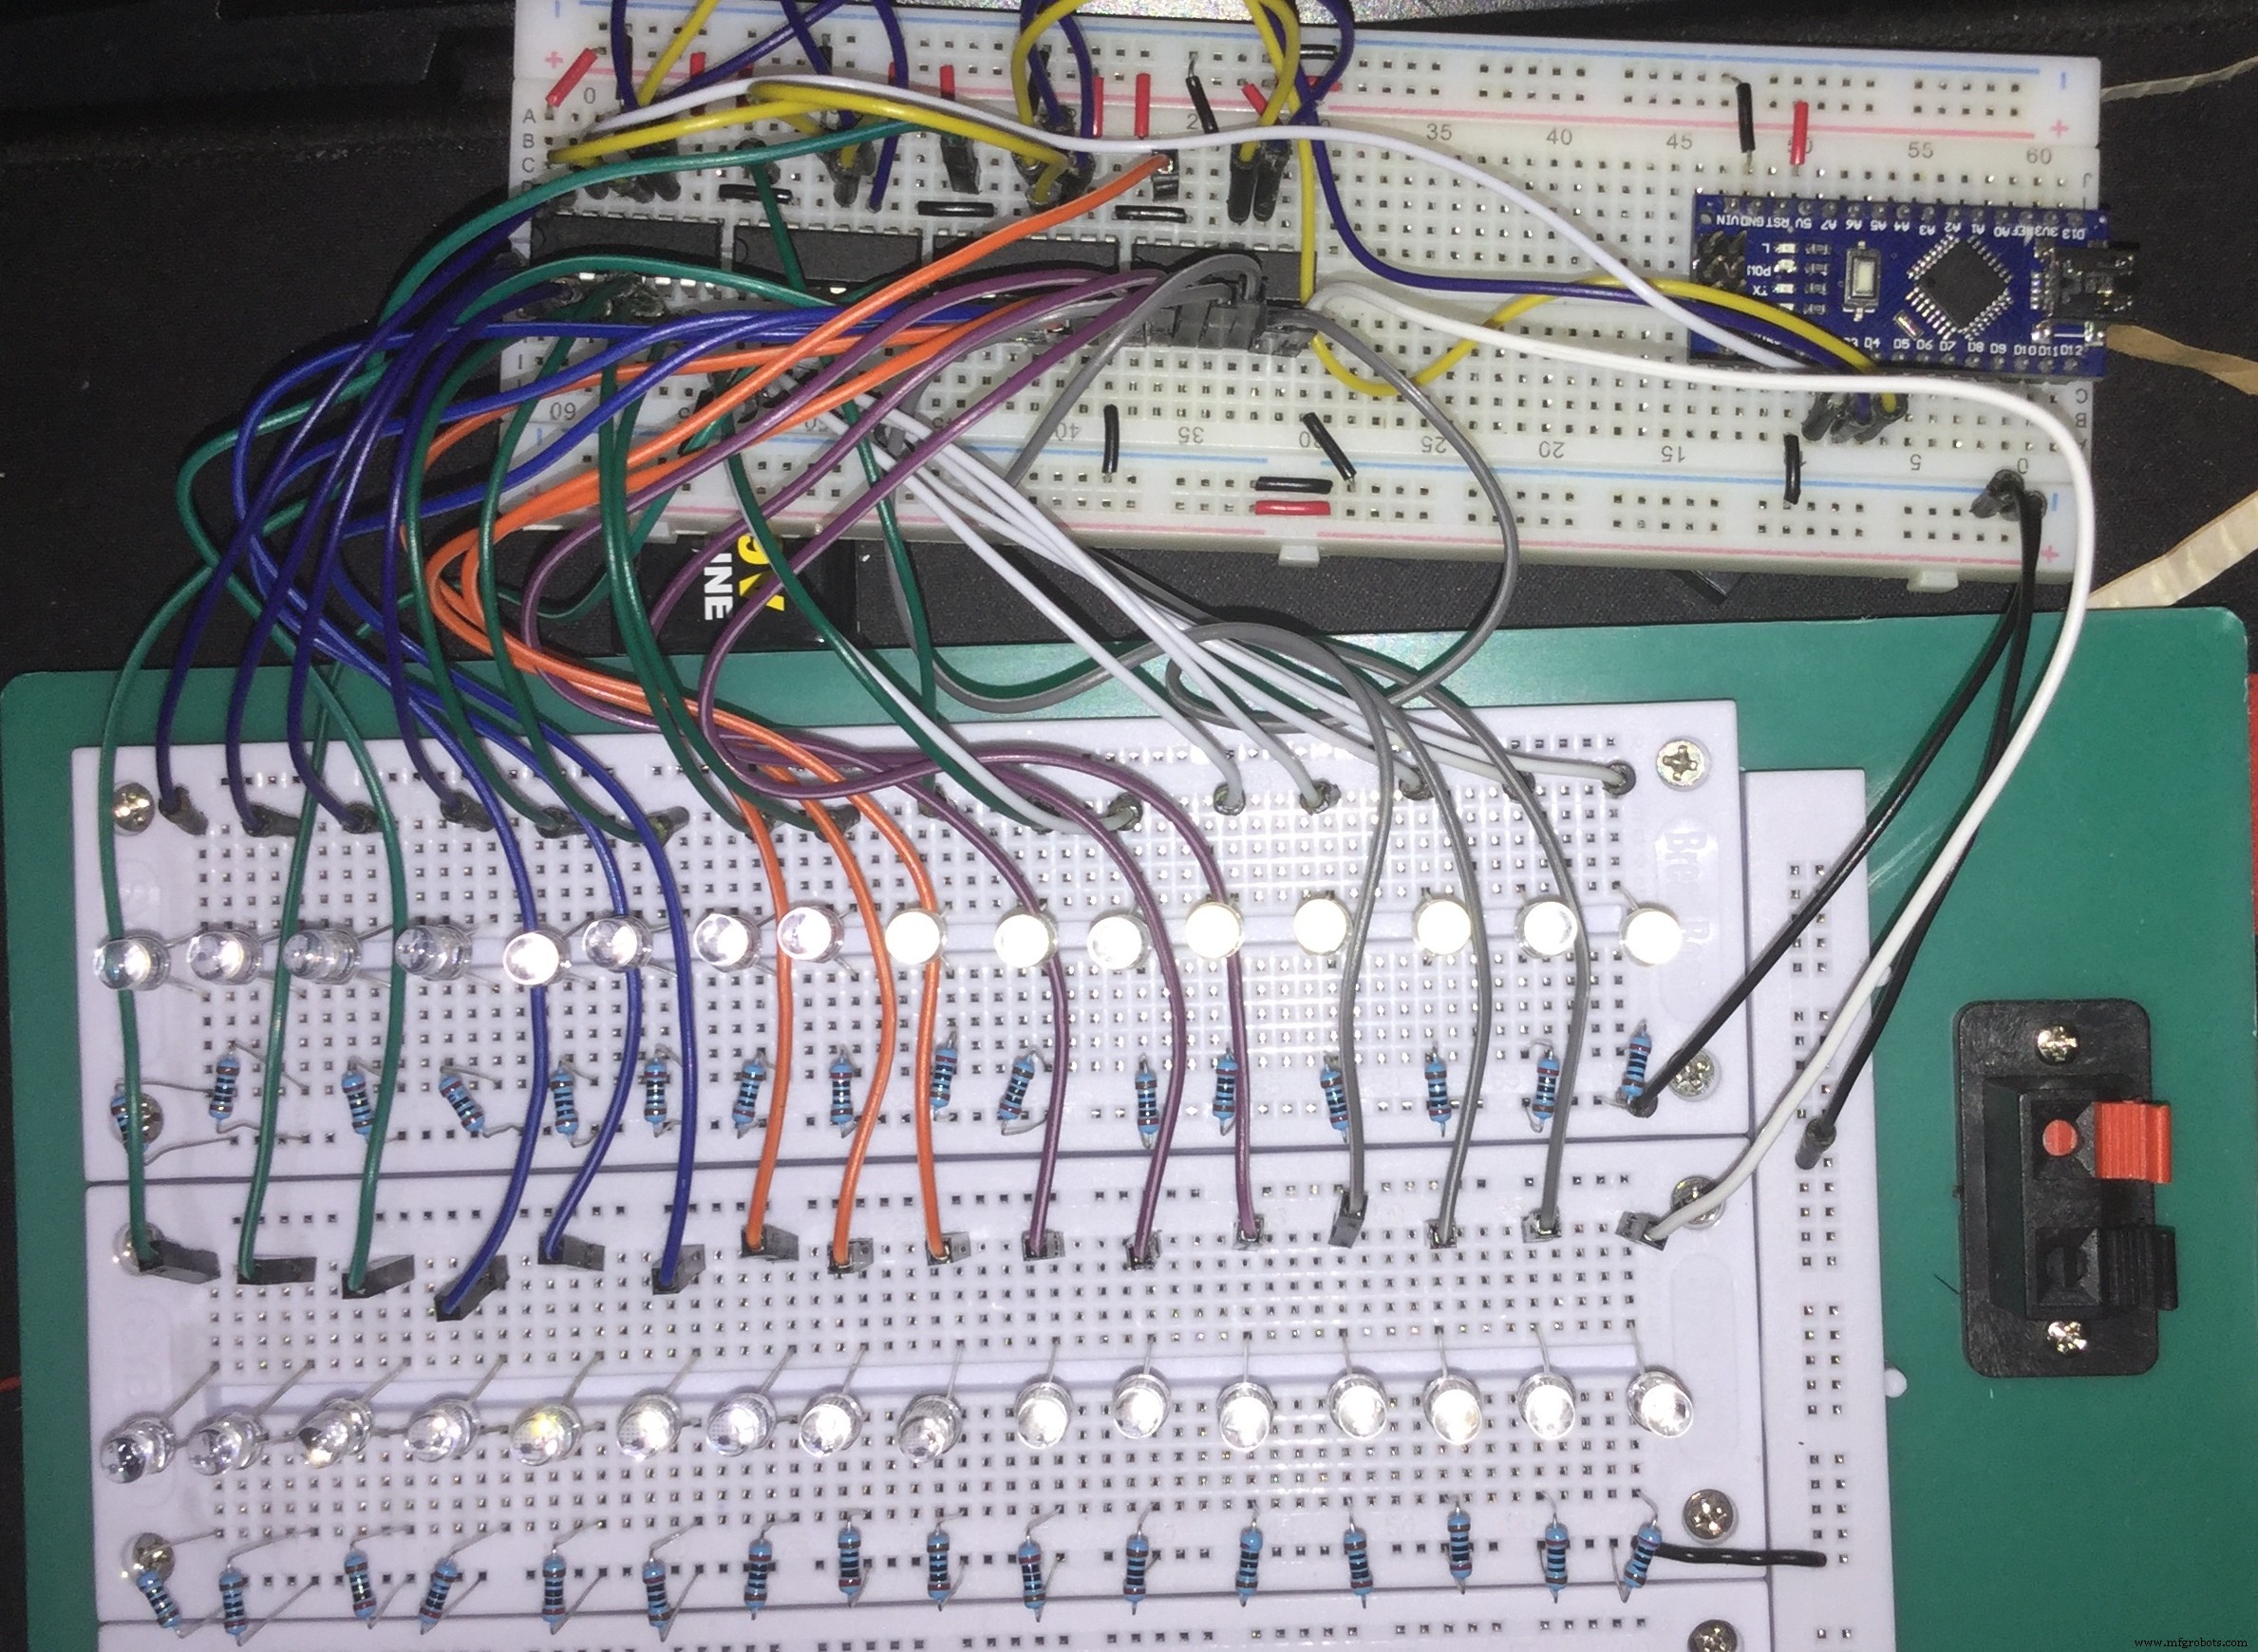
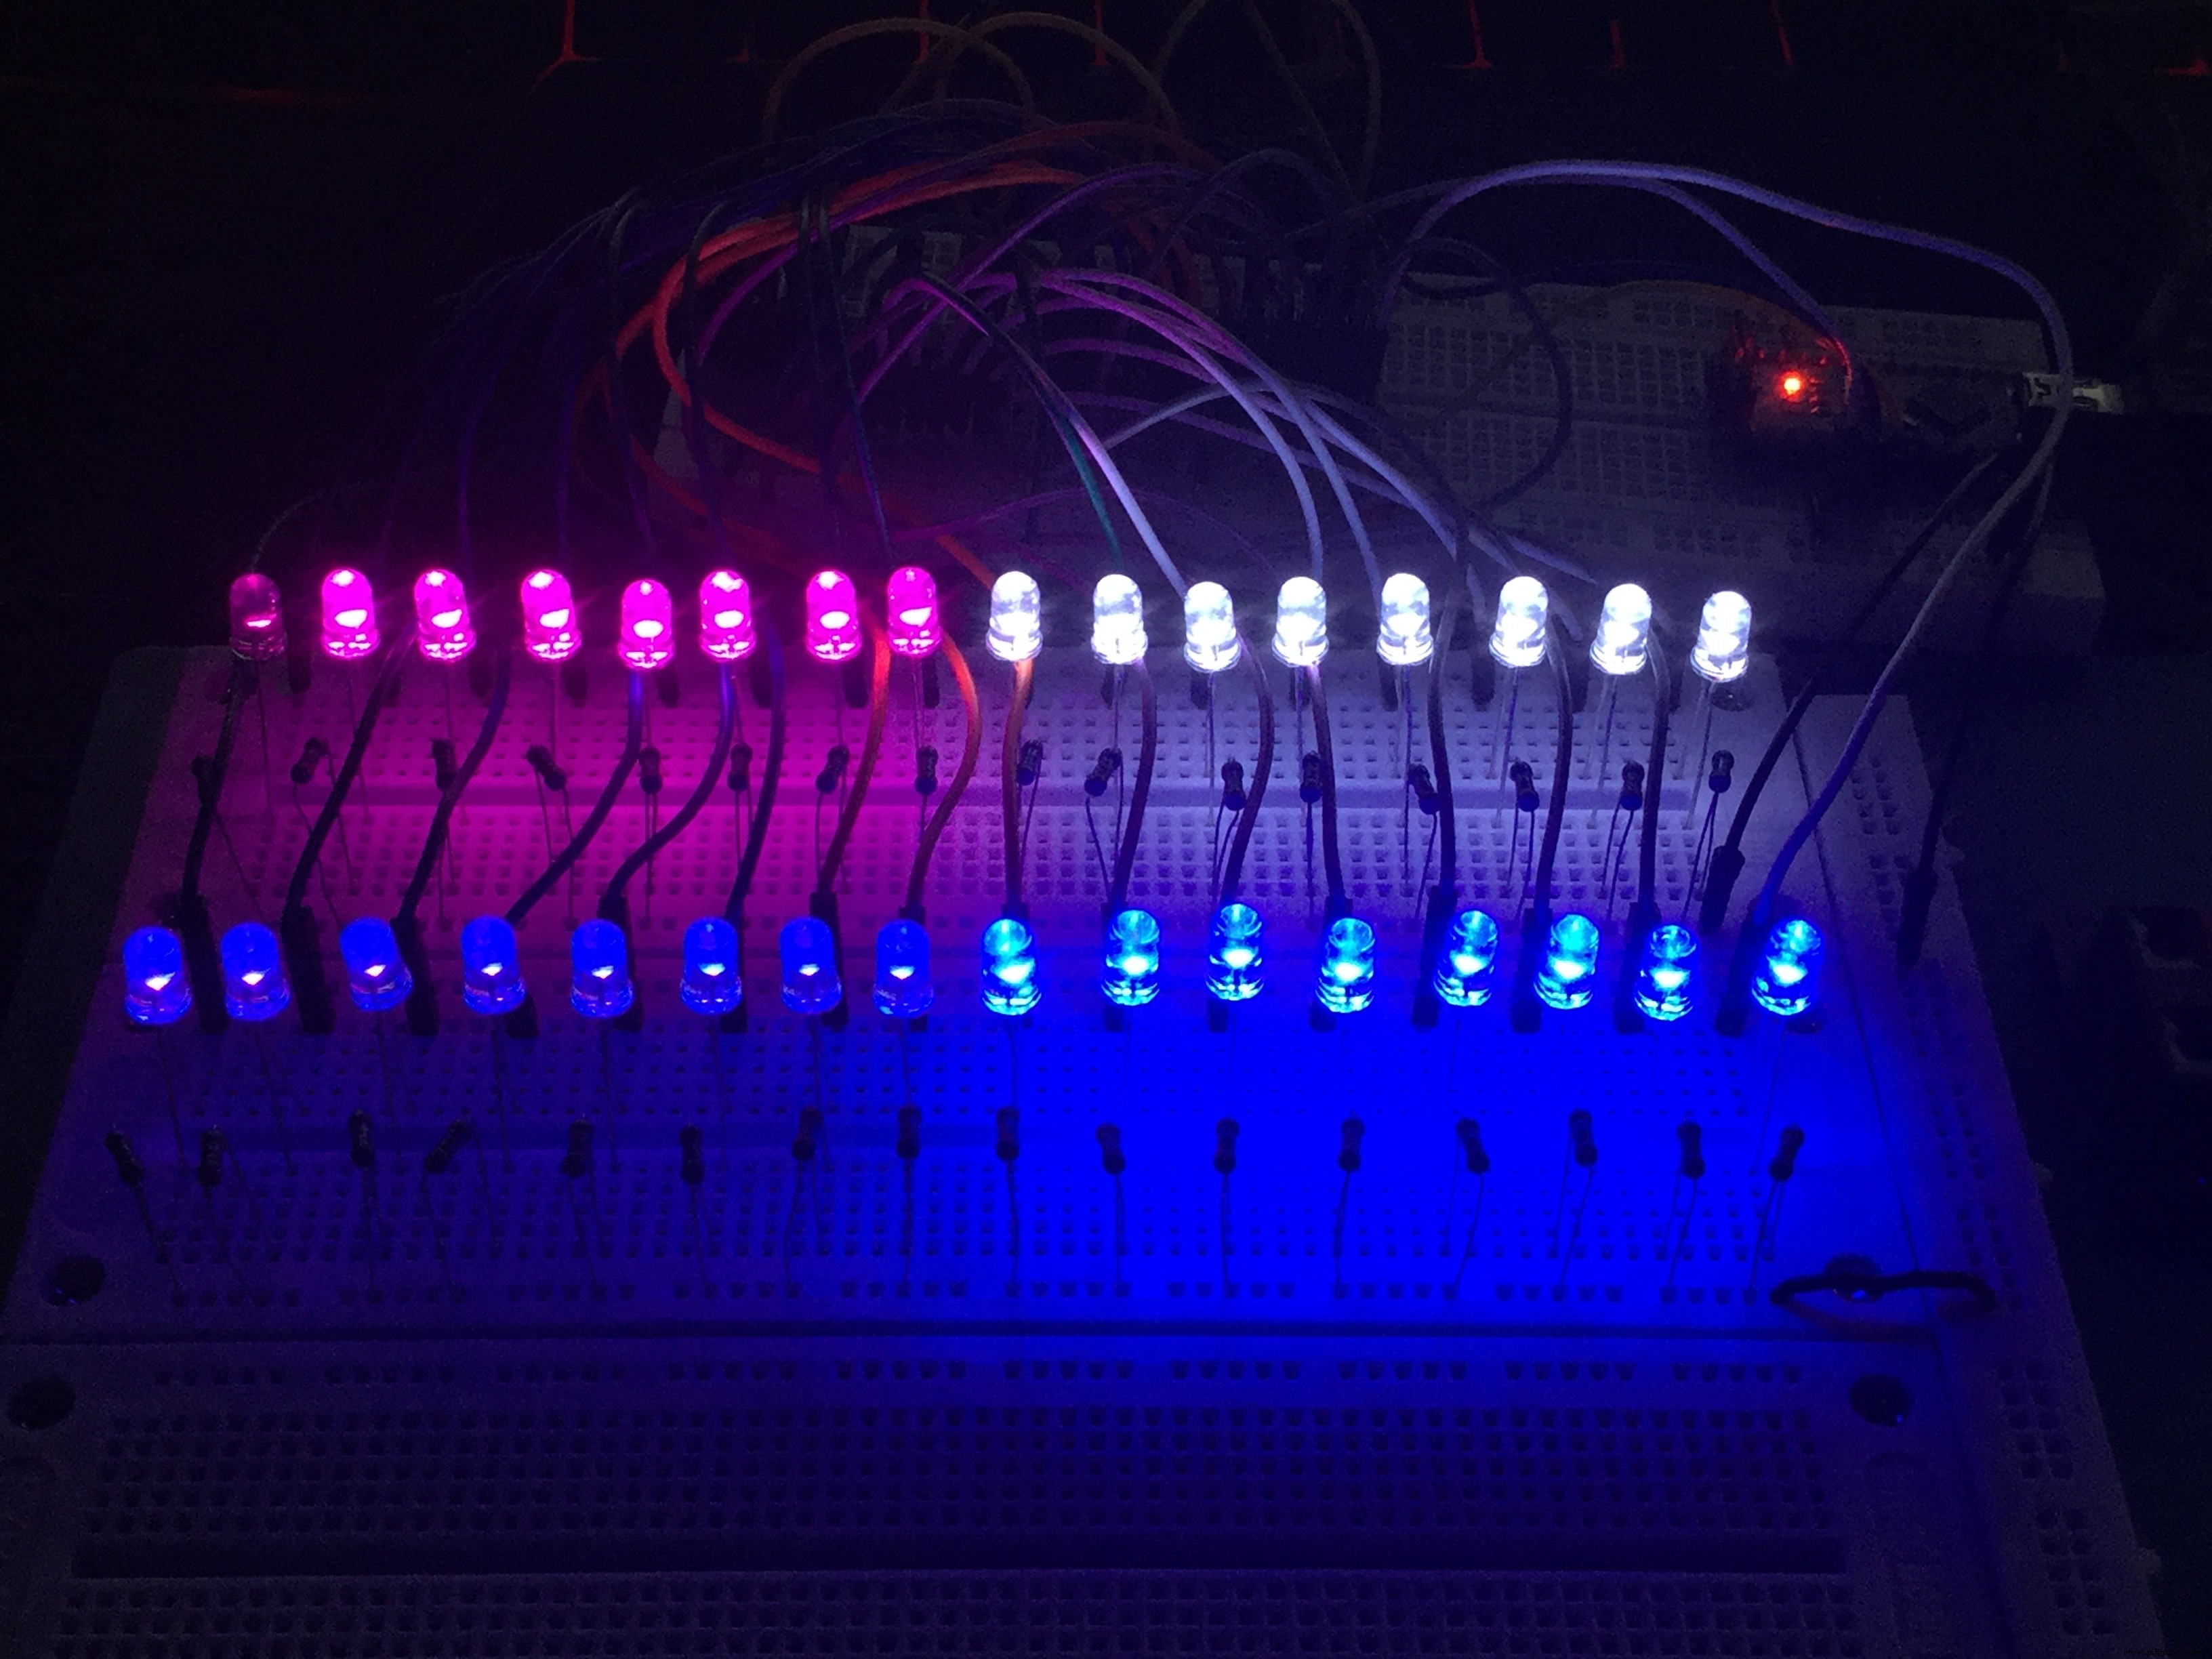
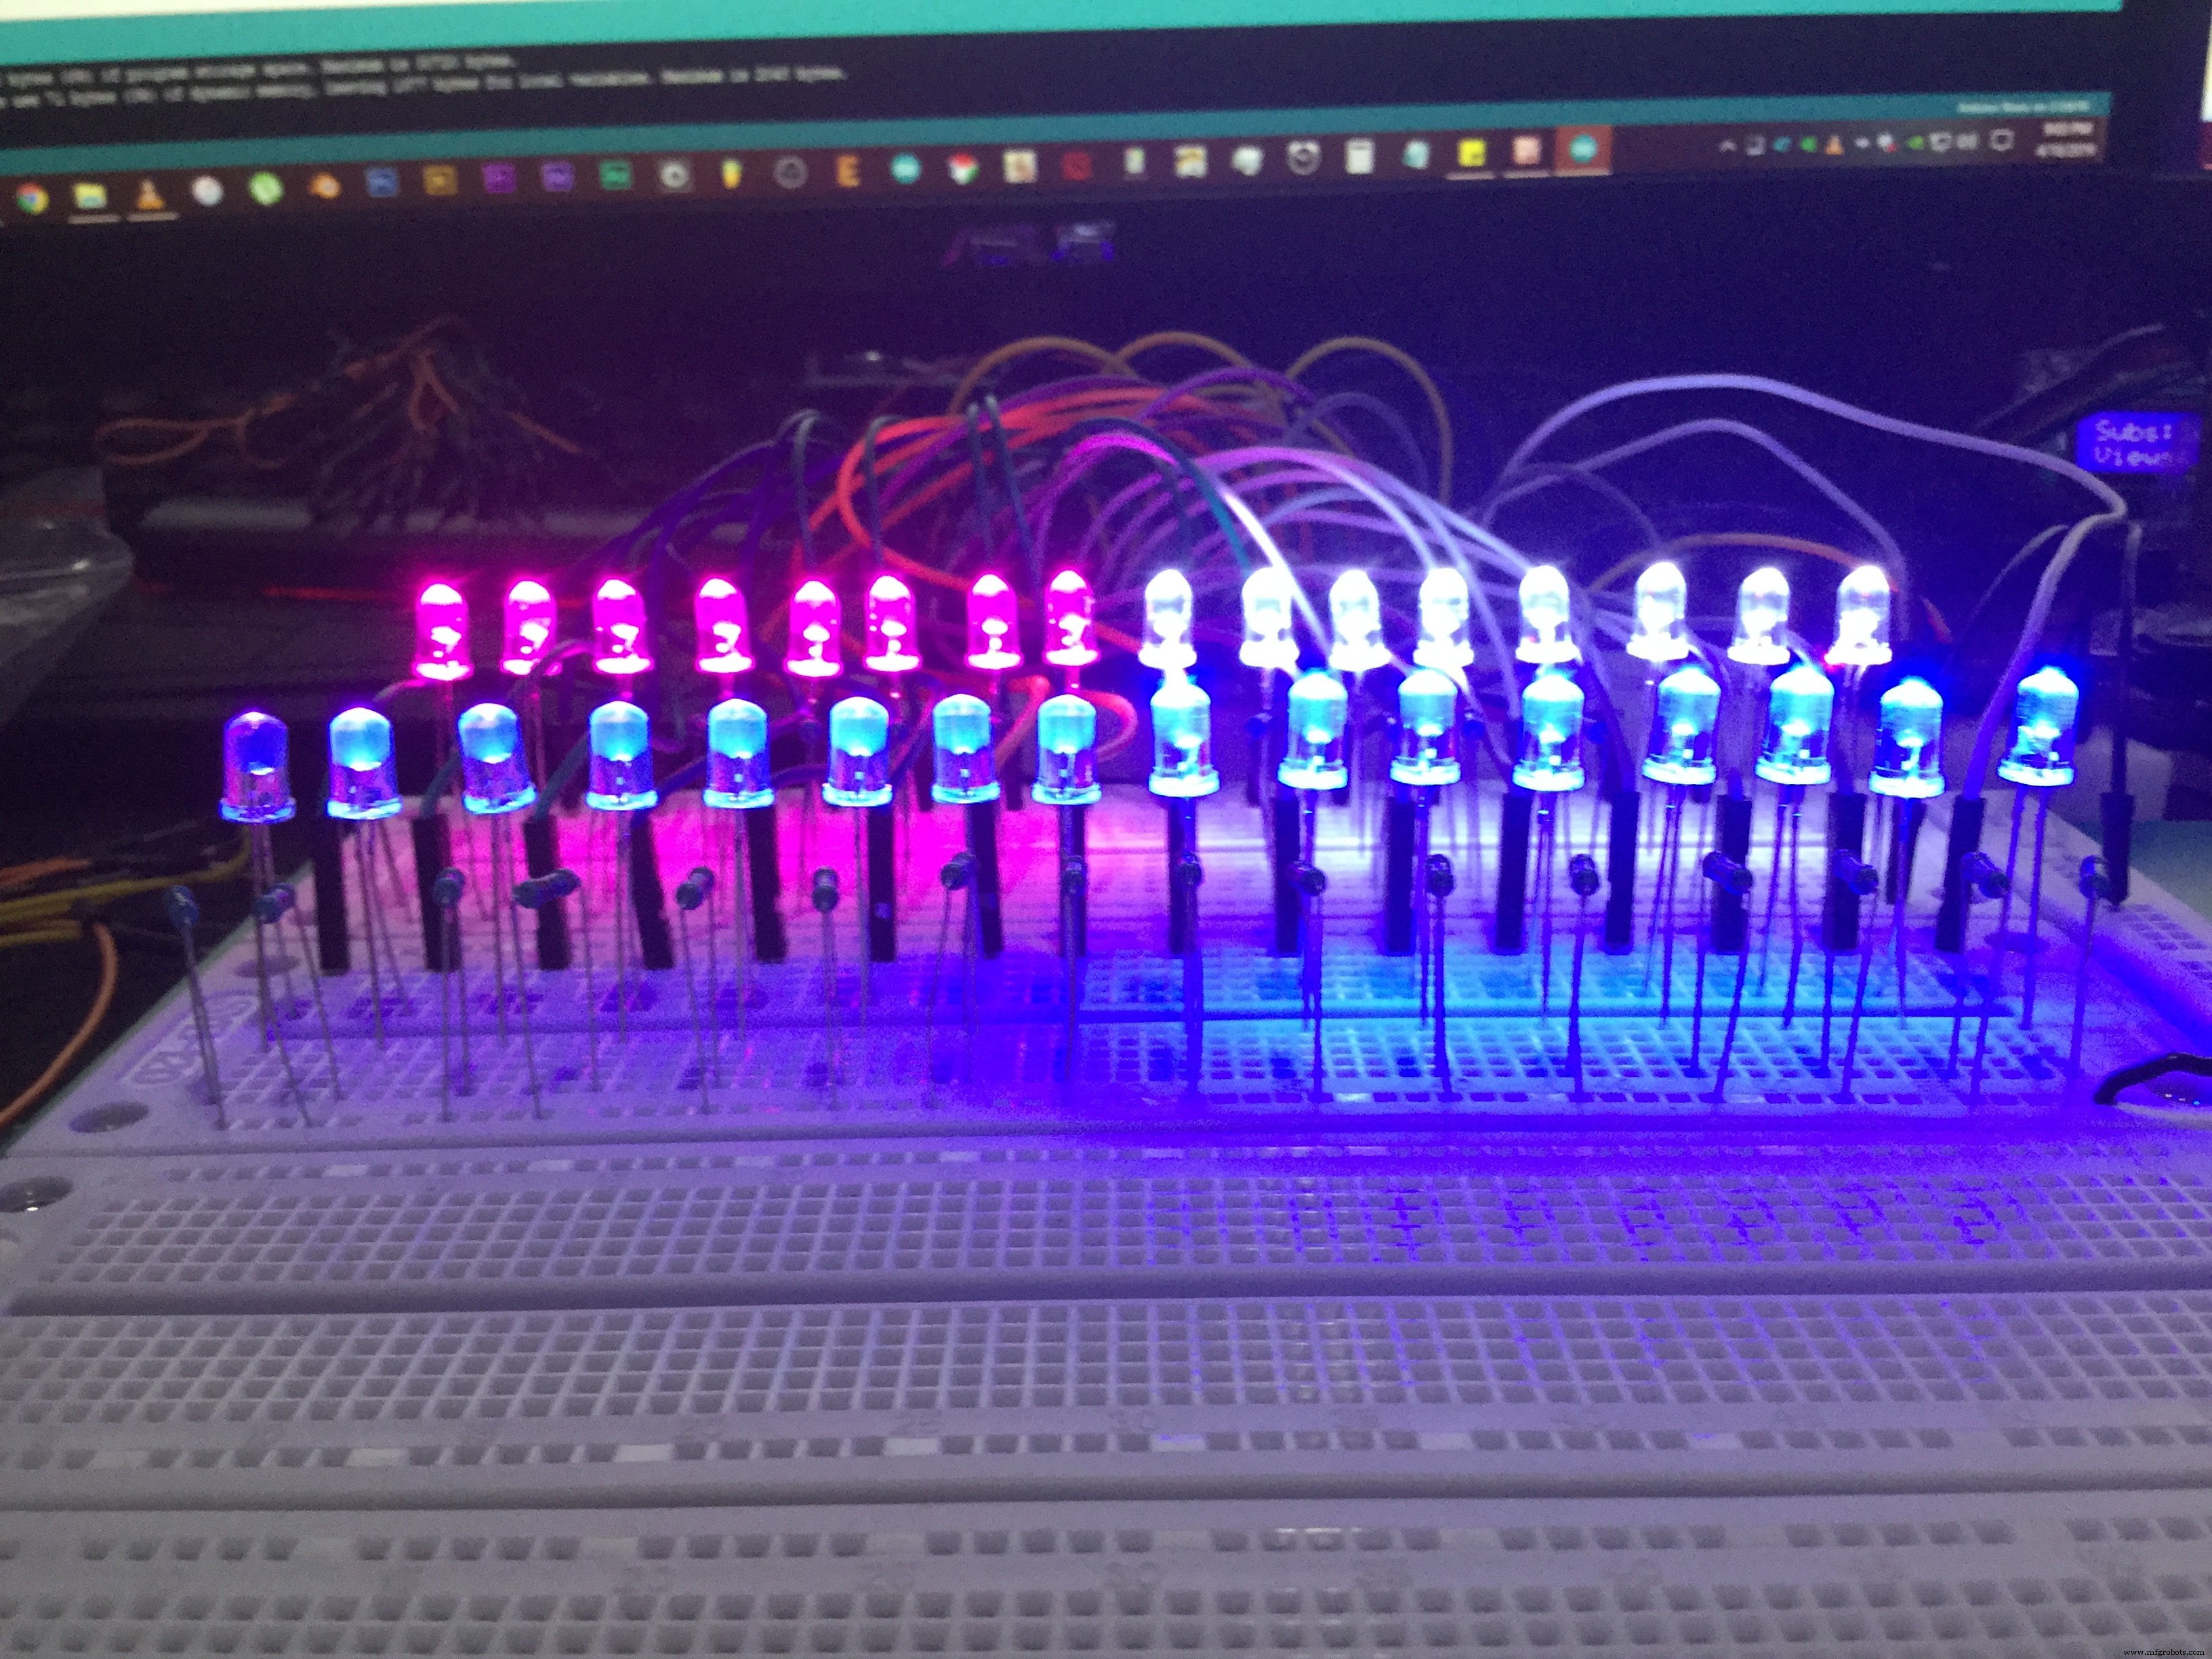
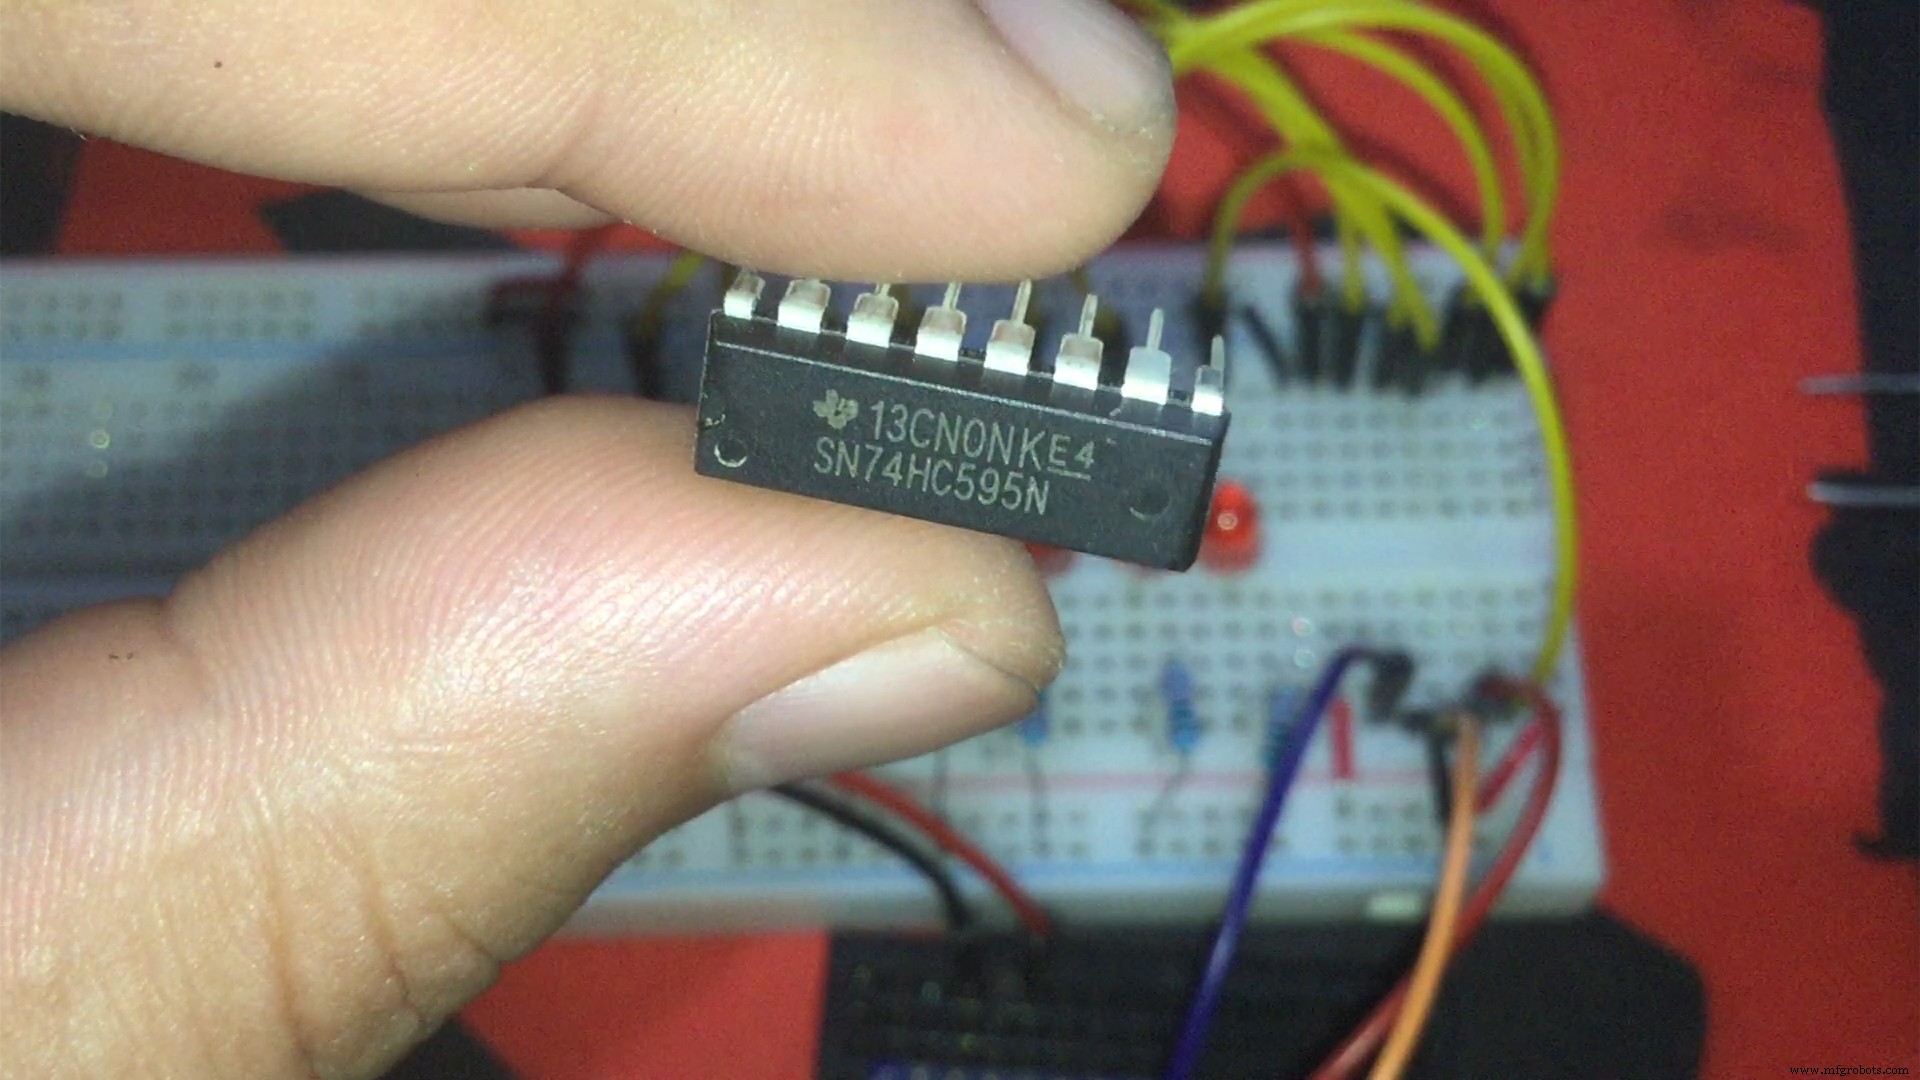
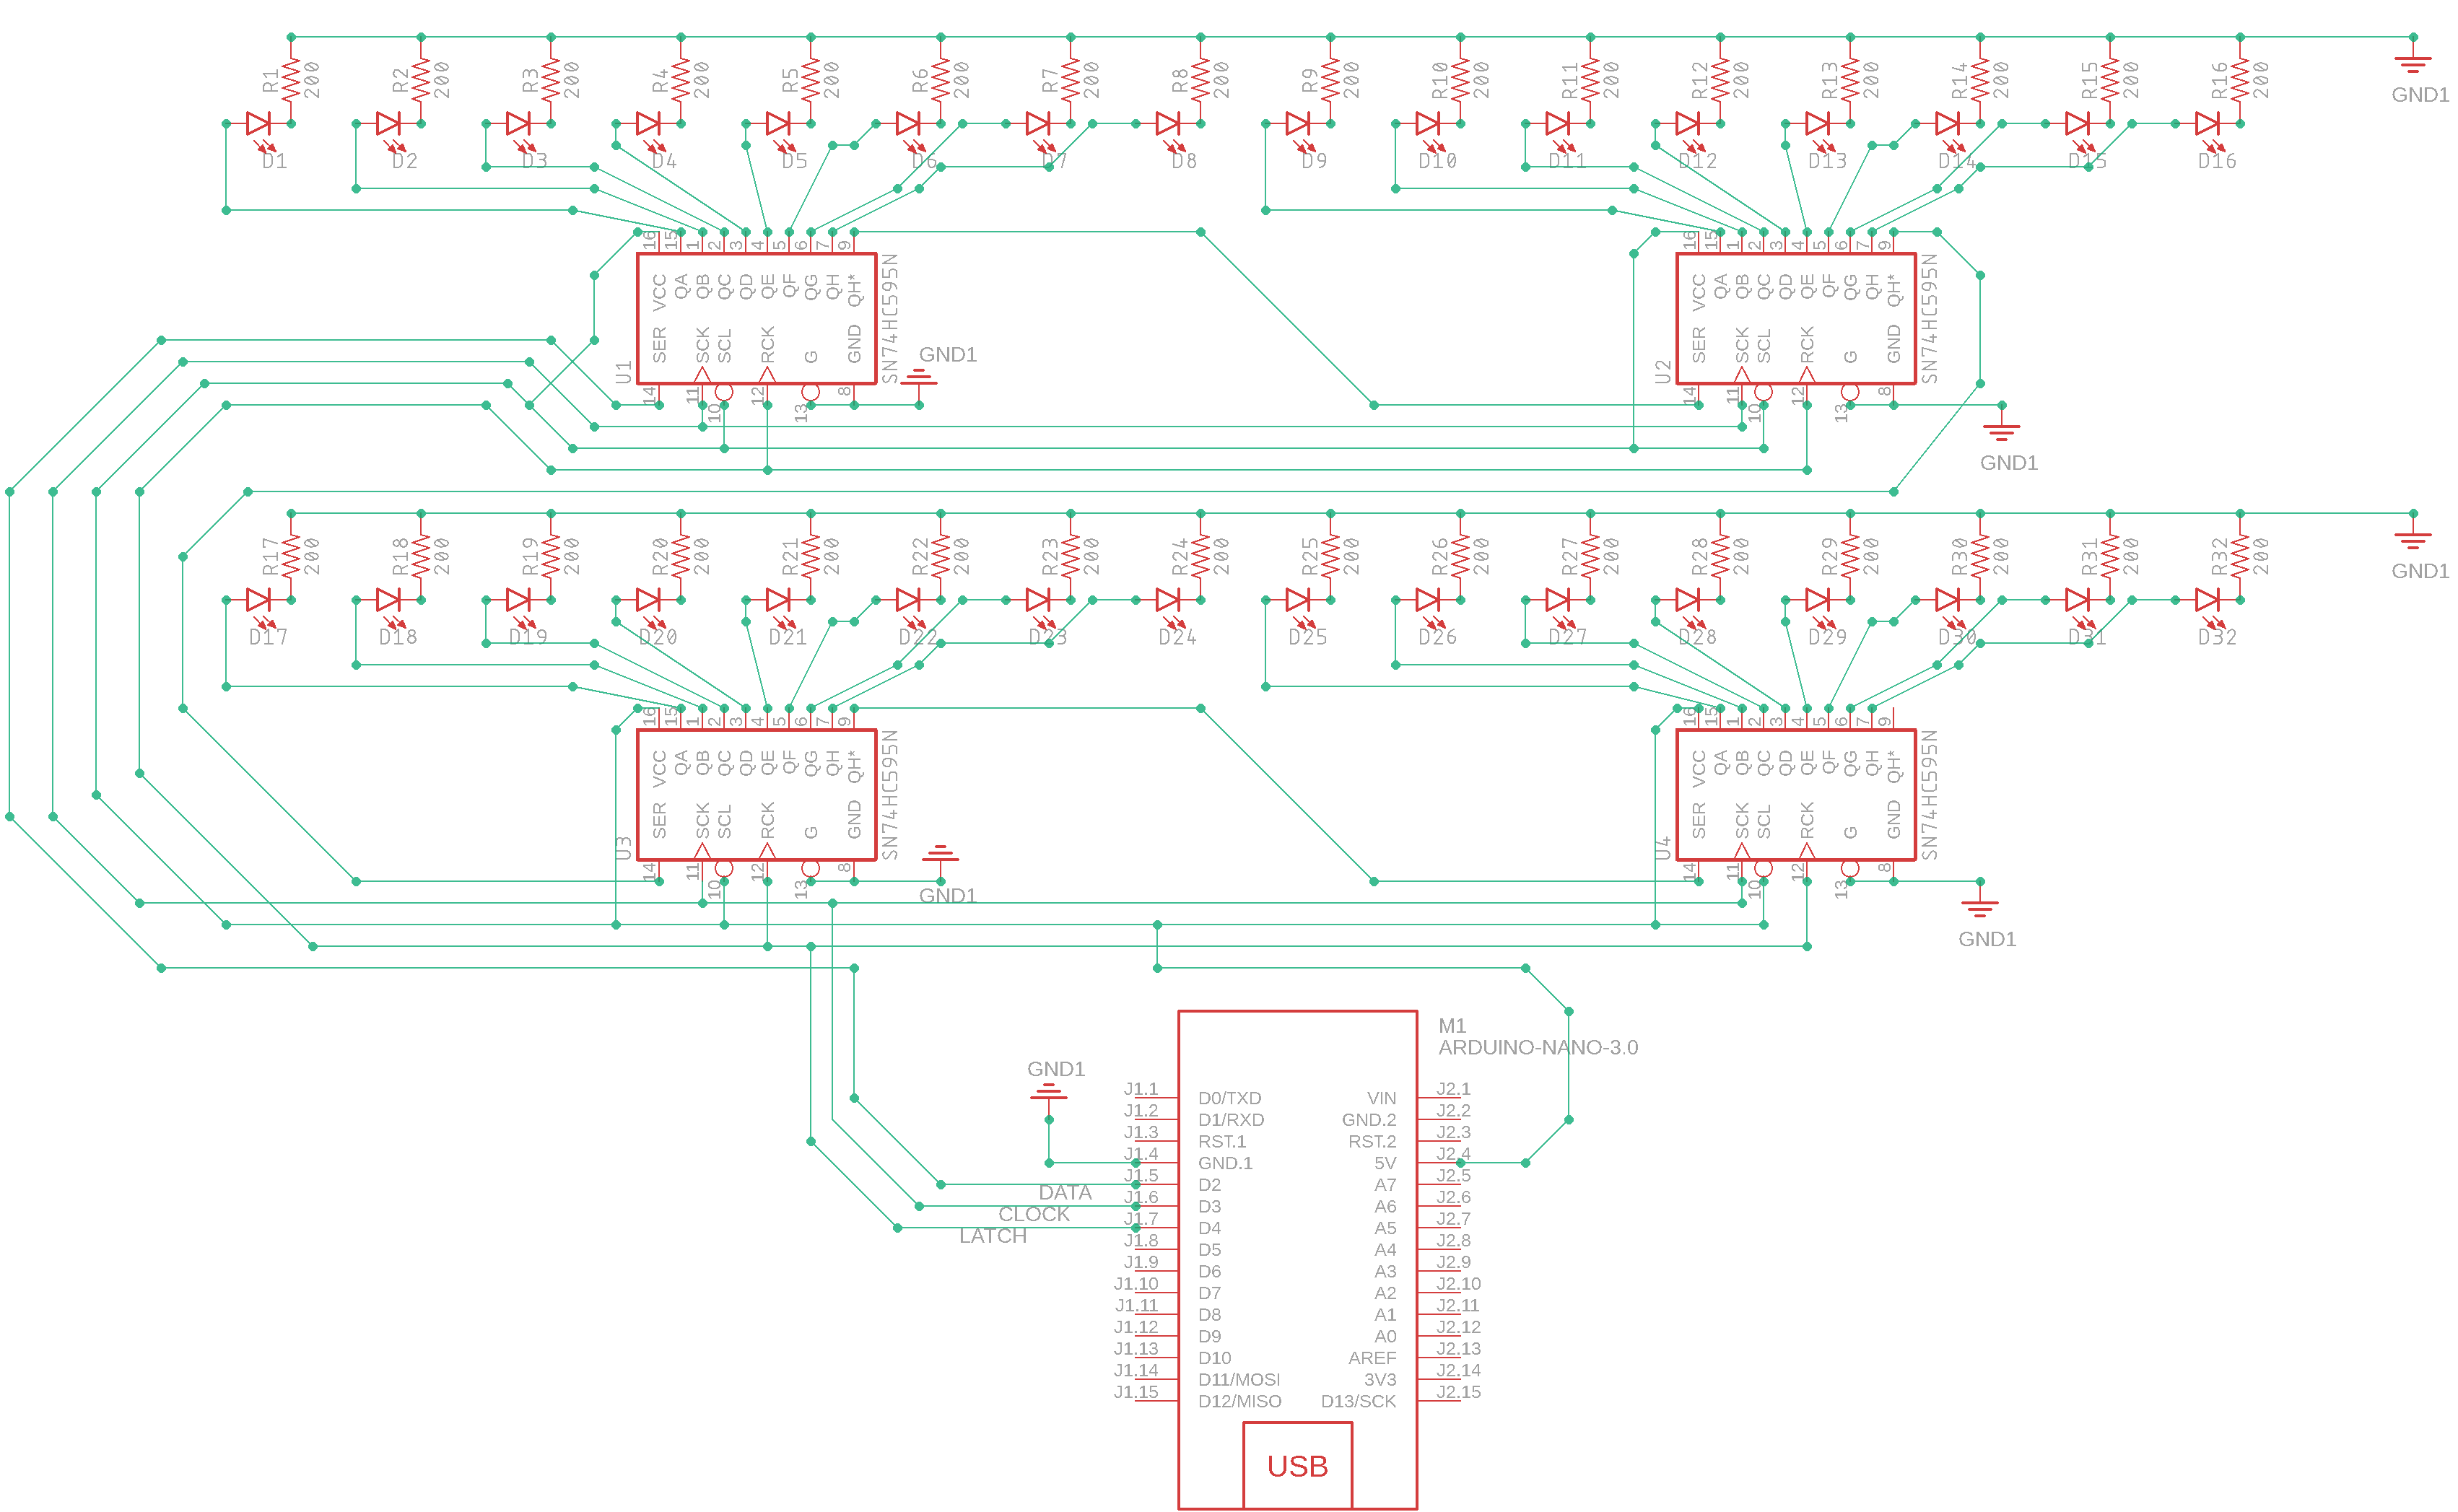
3 broches, 32 LED, 4 registres à décalage [74HC595]
Composants et fournitures
 |
| × | 1 | |||
 |
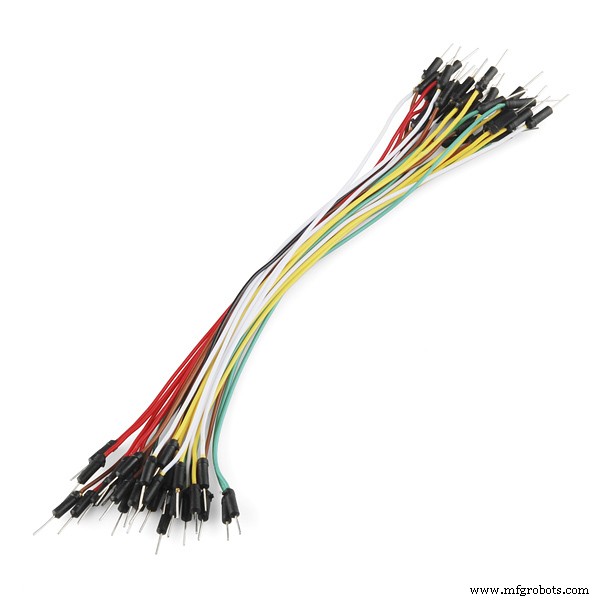
| × | 4 | |||
 |
| × | 1 | |||
 |
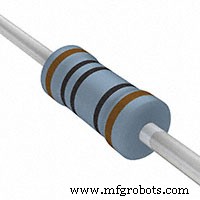
| × | 1 | |||
 |
| × | 1 | |||
| |
| × | 1 |
Applications et services en ligne
| |
|
À propos de ce projet
Ceci est un guide étape par étape que j'ai créé pour les débutants et les arduiNOOBS comme moi.
Dans ce tutoriel, nous discuterons de connaissances assez basiques sur le registre à décalage 8 bits appelé 74HC595.
Apprenez à les connecter en série et à utiliser certains codes d'une bibliothèque HC595.
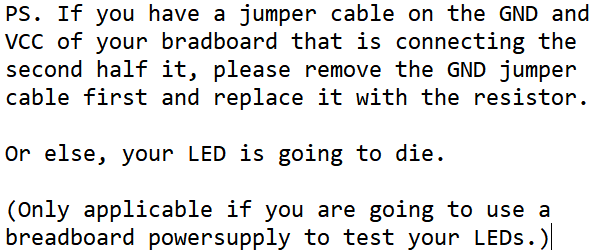
De plus, j'ai rencontré un problème avec certains des registres à décalage. Je ne sais pas pourquoi. Était-ce par manque de puissance ?
******************************************************** *******************************
LIENS NÉCESSAIRES :
Bibliothèque HC595 - https://github.com/j-bellavance/HC595
Fiche technique - http://www.ti.com/document-viewer/SN74HC595/datasheet/specifications#SCLS0419845
Plus d'informations :https://rastating.github.io/using-a-74hc595-shift-register-with-an-arduino-uno/
Pour l'itération de boucle :https://www.arduino.cc/en/Tutorial/ForLoopIteration
******************************************************** *******************************
Liens de médias sociaux à suivre (je veux dire, si vous le souhaitez) :
Facebook - https://fb.me/HeathenHacks
Twitter - https://twitter.com/HeathenHacks
Instagram - https://instagr.am/HeathenHacks
******************************************************** *******************************


Code
- Exemple de code modifié de la bibliothèque HC595.
Exemple de code édité de la bibliothèque HC595.Arduino
#includeconst int chipCount =2 ; // Nombre de 74HC595 connectés en série (8 maximum)const int latchPin =4; // Pin ST_CP (12) du 74HC595const int clockPin =3; // Pin SH_CP (11) du 74HC595const int dataPin =2; // Pin DS (14) du 74HC595//ConstructorHC595 ledArray(chipCount,latchPin,clockPin,dataPin);int delayMs =30;int lastPin =ledArray.lastPin();void setup() { ledArray.reset();} void loop() { for (int i =0; i <=lastPin; i++) { ledArray.setPin(i, ON); retard(retardMs); } pour (int i =lastPin; i>=0; i--) { ledArray.setPin(i, OFF); retard(retardMs); } for (int i =lastPin; i>=0; i--) { ledArray.setPin(i, TOGGLE); retard(retardMs); } pour (int i =0; i <=lastPin; i++) { ledArray.setPin(i, TOGGLE); retard(retardMs); }}
Bibliothèque HC595 par MJ Bellavance
https://github.com/j-bellavance/HC595Schémas
Processus de fabrication